Guide

Build and publish a lead form

Use the lead-form builder to publish a clear intake experience without creating another disconnected acquisition tool or cleanup-heavy handoff.

Intake and AcquisitionAdminsUpdated Mar 12, 2026Step-by-step

Outcome

What this helps you do

Ship a lead capture path that connects directly into the claimOS operating flow and gives the team cleaner first-notice context.

This guide is written for admins and uses real claimOS screenshots so the instructions map cleanly to the product surface.

Prerequisites

Before you start

  • Permission to manage lead forms.
  • A basic intake flow you want to publish.
  • A clear owner for reviewing the first live submissions.
  • A demo-safe test path for validating live-vs-draft behavior.

Steps

How to do it

  1. 1Choose the right authoring mode

    Decide whether your team needs a focused embedded form or a fuller hosted page, then shape the form around the minimum fields that unblock follow-up.

  2. 2Define the first action you want the submission to trigger

    Before editing the form itself, decide what the team should be able to do immediately when a lead arrives. That desired next action should shape the field set and delivery mode.

  3. 3Configure the content and field structure

    Use labels, help text, and the page structure to reduce confusion for submitters instead of relying on follow-up calls to clarify basics.

  4. 4Keep the field set focused on usable intake

    Ask only for information that helps the team understand urgency, contactability, and the next follow-up step. More fields do not help if they create abandonment or cleanup.

  5. 5Review go-live readiness

    Before publishing, confirm hosted delivery state, metadata, live-vs-draft behavior, and who will validate the first real submission so you know exactly what will ship.

  6. 6Run a live-path test before announcing the form

    Submit a demo-safe lead and confirm where it lands, who sees it, and whether the team can route it without manually reconstructing the intake context.

  7. 7Publish and verify the live experience

    Open the live form, submit a test lead, and confirm the intake lands in claimOS with the right context for the team.

  8. 8Do a handoff check after the first real submissions

    After go-live, review the first few submissions and confirm the intake path is producing usable work, not just more volume.

    If operators are re-contacting leads for basics the form should have captured, tighten the field set and helper copy before scaling traffic.

Screenshots

See the workflow

claimOS lead-form launch crop showing setup readiness, first-claim actions, and the surfaces a new submission should feed.
Use this frame to connect lead-form publishing back to live intake and queue readiness instead of treating it like a disconnected marketing widget.
claimOS setup launchpad showing mission control, launch tasks, and the early workflow surfaces a new submission should feed.
Lead-form publishing belongs in the launch path because it should create work the team can route immediately once the form is live.
claimOS integrations crop showing feature tracks for reporting, AI, weather, Gmail, and e-sign after setup is complete.
Use the feature-track view to confirm the form is feeding the operating path the rest of the workspace is already set up to run.
claimOS workflow readiness crop showing triage mode and operating modules after the submission path is live.
The real success test is what happens after submission: can the team triage and act without rebuilding the intake by hand?

Watch the paired walkthrough

Poster for the lead-form publish flow showing setup missions, the first-claim path, and the surrounding launch-ready workspace.
Walkthrough1:32

See the same workflow in motion

A quick walkthrough of building, reviewing, and publishing a claimOS lead form.

Choose hosted or embedded delivery based on the workflow the team needs to run after submission.

Watch related walkthrough

FAQ

Common questions

  • What should I verify before publishing a lead form?

    Confirm field structure, live-vs-draft state, ownership of new submissions, and where the first test lead should appear in claimOS once the form is live.

  • How short should a lead form be?

    Short enough to capture the next follow-up action without creating abandonment. Ask only for the information your team actually needs to start the intake workflow.

  • When should a team use hosted versus embedded delivery?

    Use hosted when you want a standalone intake page and embedded when the form needs to live inside another property. Choose the mode that creates the cleanest first-notice experience for the submitter.

Keep Going

Related guides and walkthroughs

Guide

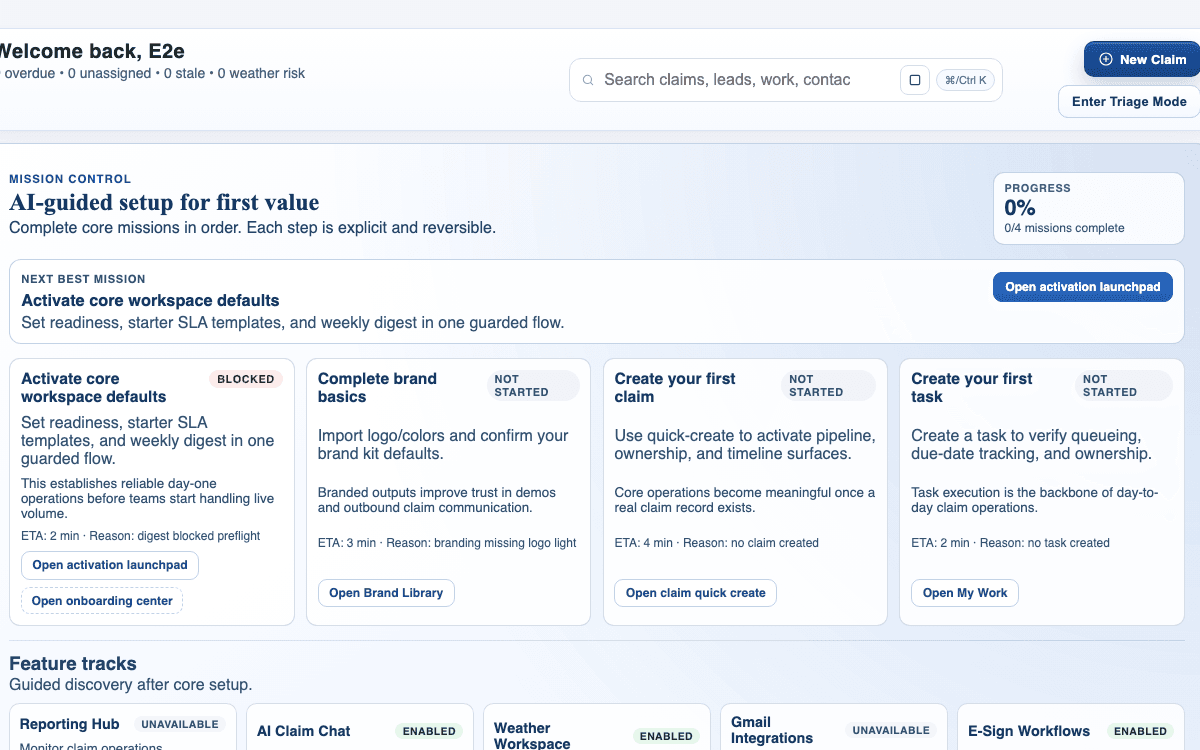
Create your first claim

Create your first live claim in claimOS so the team can move from setup into real execution without getting stuck in unnecessary data entry or unowned records.

Guide

Complete your workspace setup

Use onboarding to configure the essentials that unblock your team's first live workflow in claimOS without wandering through scattered settings pages or launching half-finished defaults.

Guide

Connect core integrations

Connect the external systems your team actually uses so claimOS can remain the operating layer instead of becoming another disconnected tool in the stack.

Video

Lead form publish flow

A quick walkthrough of building, reviewing, and publishing a claimOS lead form.